
Inhaltsverzeichnis
Vorwort
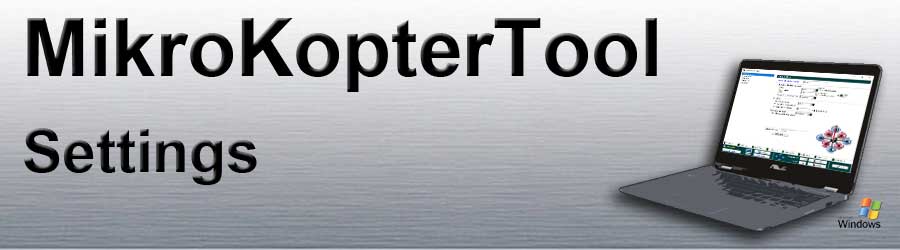
All settings are made via the Settings button in the free MikroKopter-Tool.
116/5000 Assigning the channels to the functions is done with just a few entries. So that the UAV is already ready to fly.
A Fine-tuning can be done using other parameters. However, this is usually not necessary.
INFO:
The flight control has a total of five memory locations (Parameterset => Settings).
Each storage location can be set individually (e.g. for Servo- or Brushless-Gimbal).
The required storage space can then be activated via the remote control (see ''Select parameter set via the transmitter'').
A description of the individual setting pages can be called up via the selection above
Overview

The setting window is divided into 4 areas:
1 - menu selection
2 - Adjustment
3 - Channel Quick View
4 - Save and load
Menu selection

The most important settings that are necessary for the basic setting can be selected in the standard view.
If you activate the Expert view (in the lower bar) you get additional setting options.
INFO:
The Expert view view and a changing of other parameters is usually not necessary.
The adjustment of preset parameters can improve the flight characteristics, but also worsen them.
Adjustment

Depending on the selected menu, different settings are possible.
The display of the settings depends on the menu selection.
Channel Quick View
The channels available on the remote control are assigned to different encoders (Switch, Button, Slider, etc.).
These channels can then be assigned to the individual functions of the MikroKopter.
For some functions, either a fixed value, a POTI or a direct channel can be set.
Via the settings, 8 channels can be arbitrarily assigned to the 8 available "POTI" (tab Channels).
In the "quick channel view" you have a simple overview of the allocation".

Example: "P3" (Poti3) <-> "Ch10" (Kanal10)
Save and load
In the lower bar you have different options such as Parameter writing, reading etc.

Button Help
- Opens the corresponding wiki website with the description of the open setting
Button Load
- Loading a parameter set saved on the PC
Button Save
- Saves the current settings of the opened parameter set to the PC
Selection box Parameters et
Selection of the parameter set (setting) to be set
Different settings can be saved in 5 memory locations (parameter set).
An individual name can be set for each parameter set.
Button Reset
- Resetting the settings of the current parameter set to the delivery state
Button Read
- Reads the current settings of the opened parameter set from the copter
Button Write
- Writes the current settings into the selected parameter set in the copter
Button OK
Closes the setting window.
INFO:
If changes have not yet been transferred to the Kopter
and you close the window, a confirmation dialog appears:

Select parameter set via the transmitter
The flight control contains 5 memory locations (Parameterset) which can be set differently.
The individual parameter sets in the MikroKopter can be activated by remote control.
First select the desired parameter set (1-5) and hold the position ...
.. then you activate the inputt (A).
The copter acknowledges the input with 1-5 beeps and the setting that is now active appears briefly in the telemetry display.

Beispiel: Mode2
- Here are the individual embroidery positions:
Setting 1 =>
Roll left + Nick center - plus - throttle up + yaw left
Setting 2 =>
Roll left + Nick up - plus - throttle up + yaw left
Setting 3 =>
Roll center + Nick up - plus - throttle up + yaw left
Setting 4 =>
Roll right + Nick up - plus - throttle up + yaw left
Setting 5 =>
Roll right + Nick center - plus - throttle up + yaw left
INFO:
The picture on the right shows the upper text description of the embroidery positions on a transmitter in "mode 2".
If a transmitter with a different "mode" is used, the stick operations look different !!!
The text description above is to be observed here !!!
Info
Changing the settings can help fine-tune the copter.
But not if there are flight problems on the copter!
With a few exceptions, every MikroKopter can already be flown with the standard settings!
Only the channels for the individual functions have to be entered!
If the copter does not fly properly with the standard settings, this could be due to an error when assembling the copter or incorrectly laid cables (magnetic errors). Here the structure of the copter should be examined first.
All settings are preset. If changes are made to the settings, it should be ensured that valid data is entered.
If a setting is loaded with incorrect values due to incorrect operation, the Kopter may malfunction or crash!
The settings should NOT be changed during the flight (e.g. using wireless connection)!
The MikroKopter can crash!
So always land first, turn off the engines, then load / write settings and start again.